I built this speaker as a birthday gift for a friend. This is an overview of the design and construction process.


Face panel is cherry. Cabinet is MDF with maple veneer.
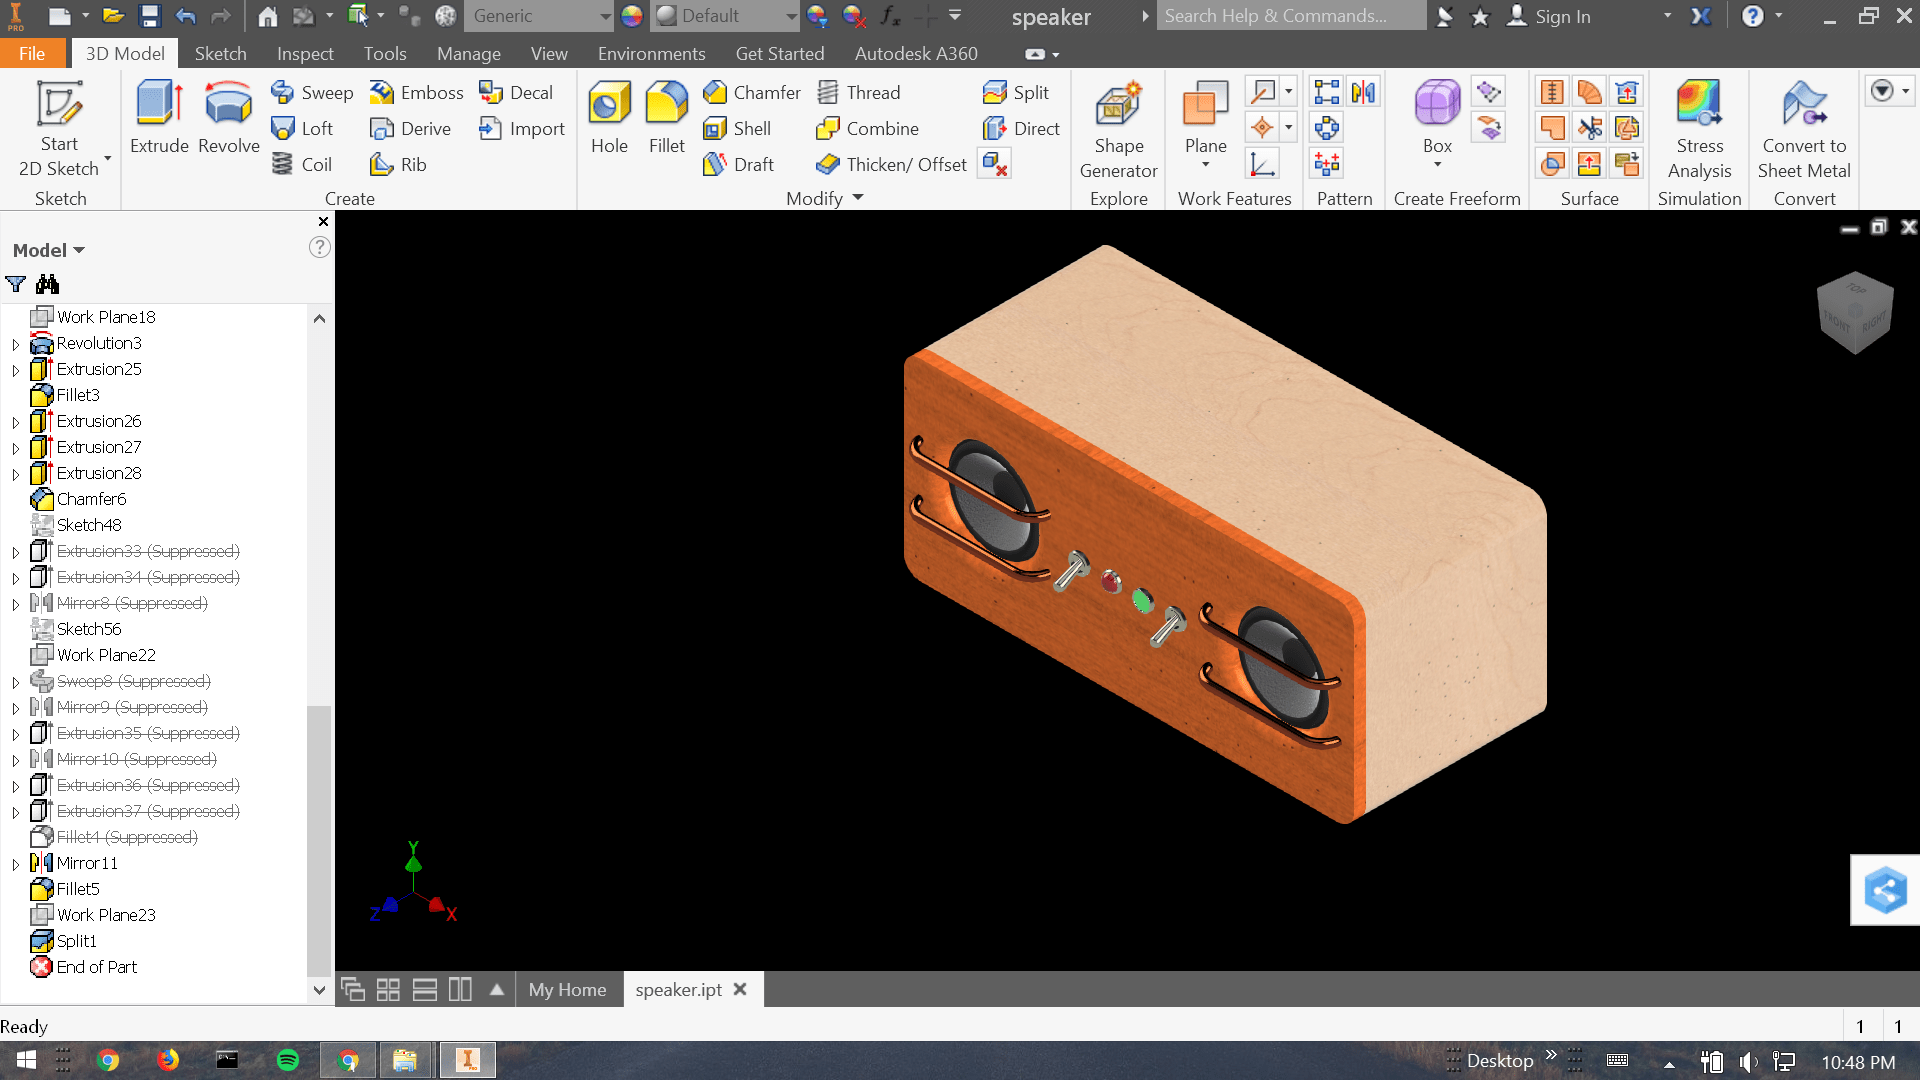

I started by modeling my design in Inventor. This allowed me to compare different materials, layouts, and enclosure shapes with a constant internal volume (the optimal volume for a sealed baffle enclosure depends on the characteristics of the driver, but specific dimensions musts be chosen to avoid distortion due to resonance). After I arrived at something I was happy with I made a cardboard mockup to confirm that it also looked good in real space.


Cutting the MDF piece to size, milling out spaces for components to fit, glue-up and assembly, and finally routing the fillets on the four transverse edges. Note that this series of images shows a different front baffle design. I initially planned to use veneer on the face of the cabinet as well, but after reaching this point I realized that this design would not work. There would be no reliable way to cut holes in the veneer to exactly match the drivers, and even if I managed to overcome that challenge the entombed drivers would vastly complicate sanding and finishing. I scrapped the enclosure pictured here and began again.


For the second iteration I used solid cherry for the face panel. At this point I was behind schedule and due to my haste I went into the glue-up unprepared, but my improvised clamping system proved adequate. I elected to mill out the rear panel outdoors this time to cut down on the MDF dust in my basement shop.


Making a battery pack from 18650 cells and a plexiglass enclosure. Notice the cold solder joints on the BMS board and the battery and on the battery terminals. These were designed to be spot welded using nickel strips, not soldered. I didn’t prepare the surface or use enough flux or heat to get the solder to wet. This work was all done the night before my friend’s birthday and I was in a huge rush trying to get everything wrapped up. The quality of my design and assembly for the first version of the power and charging system was very poor as a result. Unsurprisingly it failed within a few months, at which point I brought it back to my shop for a complete electronics overhaul.


Here I apply the veneer using contact cement and test different finishes (the beverage on the table saw is lukewarm and unopened, don’t worry).


Shiny things to go on the front panel: speaker grilles made from refrigerant tubing and custom indicator lamps.
An eastern milk snake somehow found its way into my toolbox around this time. These aren’t venomous and rarely bite even when handled. I put this one back outside.


Top: Front and back side of original version. Bottom: Back side of improved version (new battery not shown). The new version includes a battery level meter, over-discharge protection, overcurrent protection, back-feed protection, and battery bypass so that it may be charged while turned off or powered directly from an AC adapter.